Planting & Growing Shallots

Shallots are the "gourmet onion" with hints of garlic. Planting and growing shallots in your garden is easy and rewarding. Here's what we recommend.
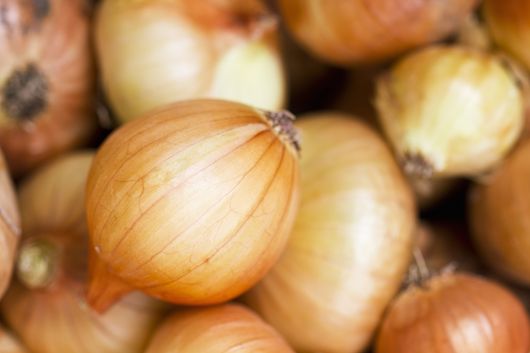
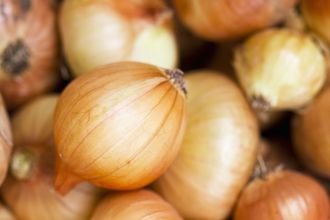
You may be familiar with shallots by the name "multiplier onions", and you may have had them roasted or sautéed in your favorite restaurant meals – they're a popular ingredient with amateur and professional chefs alike! If you search for shallot recipes, you'll find thousands of ways to enjoy these alliums – close relatives of onions, garlic, and leeks. Shallots are also just as easy to grow as other alliums. Here's what you need to know.
Our shallots come as sets (individual dormant bulbs), ready to be planted when you receive them. You will plant each individual bulb, or head, so separate any bulbs that may arrive attached to one another prior to planting. You may notice that shallots are similar to onions in outer appearance, but inside you will find they have cloves rather than layers, which is more similar to garlic.
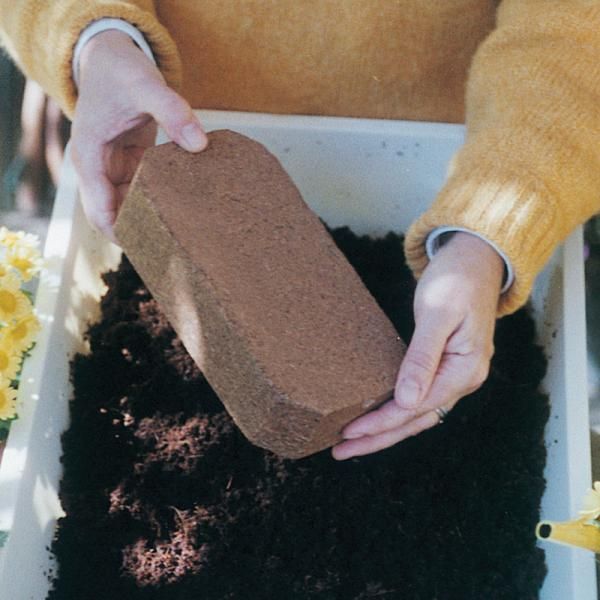
Shallots, like other alliums, prefer growing in a nutrient-rich, loose soil that drains well.
- If you have very loose, sandy soil, consider amending with compost and coco-fiber growing medium to add nutrients and improve water-retention.
- If you have heavy, compact soil, consider amending with compost and coco-fiber growing medium to add nutrients and break up heavy soil to allow more even distribution of water.
- You may also consider growing shallots in raised beds to get the most from your shallot harvest in a soil composition you have more control over.
Planting & Growing Shallots
If you grow your own garlic, growing shallots is quite similar!
Shallots planted in the fall will need a layer of mulch for protection (4 to 6 inches), since shallots grow near the soil surface and have shallow root systems. Carefully remove excess mulch as the soil warms in spring.
Shallots planted in the spring also benefit from and inch or two of mulch, as it protects the shallots from cold snaps and helps avoid the new bulbs from drying out.
- Space each planting hole at least 4- to 6-inches apart in rows that are 12-inches apart.
- Make sure shallot bulbs are planted root-end down and pointed-end up.
- Plant bulbs just deep enough so that the tops are still visible.
- Water thoroughly after planting. Avoid letting the shallots dry out, but do not overwater.
- Remove all weeds as they appear to keep nutrient competition down.
Pest Control
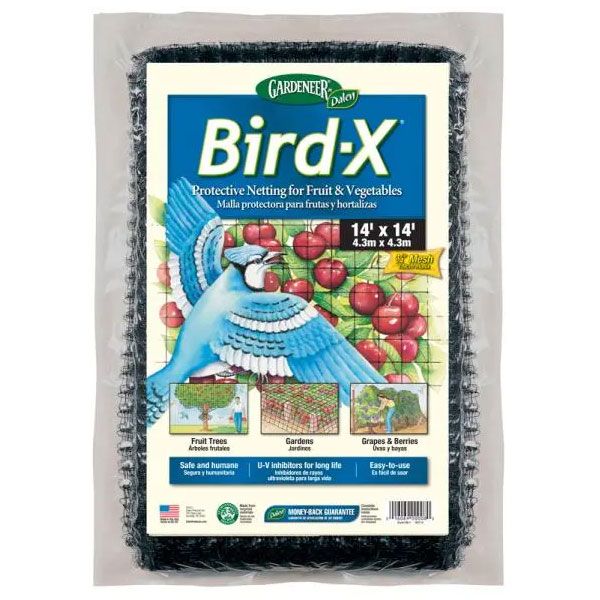
Note: rain and irrigation may expose newly planted shallots, which may result in interest with certain birds. Re-cover any shallot bulbs that may become too exposed, and consider using garden netting to prevent birds from pulling up your shallots.
Harvesting Shallots
Shallots are ready to harvest in summer once the leafy tops wither (usually 90 days from planting) and a paper skin develops on the bulbs.
- Carefully pull up shallots, leaves and all.
- Gently remove as much soil as possible from the plants.
- Store in a cool, dry place for about 7 days. If there is no precipitation in the weather forecast, you may leave the shallot harvest to dry in the garden. Partial shade is recommended if you are allowing shallots to cure in the garden to avoid sunburn.
- Remove root ends and leafy tops and store (like onions and garlic) for future culinary use.
Many shallot growers also use the leafy tops as alternatives to green onions or chives in recipes. These can be harvested once the leafy tops have substantial growth, about a month after planting.
Shallots make a great vegetable addition to the kitchen garden, especially if you already love onions and garlic. Grow your own shallots and add a gourmet touch to your favorite meals!
Grow Your Own Shallots
- Article Categories:
- How To Grow
- Product Features