Preparing an Organic Garden Site
Before you plant one tree or berry bush or vegetable seed, it's critical to properly prepare your garden bed or orchard for organic growing. If you're making the switch from conventional methods, this article will help you understand how to analyze, amend and maintain your soil's health for a lifetime of organic growing. Note that in order to be an "official" organic soil, the area must not have come in contact with chemical pesticides, fertilizers or herbicides for at least three years.
What is your soil made up of?
First, understand that soil is not just dirt; healthy soil is a balanced combination of air, water, broken-down rock and minerals, organic matter and beneficial microorganisms. These microbes, fungi, earthworms and tiny "good" insects all work together to create a brilliant underground ecosystem. Without these little creatures, your soil will be out of balance, and trees and plants will fail to thrive.
Everyone's soil composition is different. Michigan has clay; Florida has sand. Most regions have a combination of soils. All soil types are classified by the proportion of sand to silt to clay. Ideal soil, called "loam", is composed of about 40% sand, 40% silt and 20% clay. Loam is fertile, and holds water without trapping it (like clay does). If your soil is composed of a preponderance of only one of these particle types, you know how challenging it can be to get things to grow in it. The good news is that poor, unbalanced soil can be "fixed." First up, let's see what your soil is actually composed of; then you'll know what to do next.
The Jar Test
A simple "jar test" doesn’t cost a penny and will give you a very good idea of your soil composition. It’s easy to do and only requires a scoop of soil, a hammer or mallet, some water and a jar with a lid:
- Collect a sample of soil - 1/4 cup will do. Dig straight down (rather than scoop across the surface) to get your sample. Remove debris like rocks and trash, then take your hammer and crush the remaining soil so that all parts are consistent and fine. Add to a 1-quart jar along with just under 4 cups of water, secure the lid, shake*, and let everything settle for about three days. When the water layer is clear, you can determine the results.
- Sand (bottom layer; settles after 1-2 minutes)
- Silt (middle layer; settles after 2 hours)
- Clay (top layer; settles after 2-3 days)
- Whatever may be floating on top of the water is organic matter
- *Shake hard/long enough to agitate the particles into separating.
- Once settled, measure the distance from the bottom of the jar to the top of the water line. This is the "total height". Then mark lines on the jar where the layers separate, and measure each level. Then figure the percentage of each layer by dividing the layer measurement by the "total height".
Now you know what your soil composition is! If it's not 40-40-20, then you have some improvements to make.
To improve sandy soil:
- Work in 3"-4" of organic material, like compost or composted manure.
- Mulch around your plants with leaves, wood chips, bark, hay or straw. Allow "raw" materials like this to age for two months before using them as mulch. In fresh form, they give off too much nitrogen and can burn young trees and plants.
- Add at least 2" of organic matter each spring.
- Grow cover crops or green manures in the fall.
To improve clay soil:
- Work 2"-3" of organic matter into the soil's top layer, and add surface of the soil. Then add at least 1 inch more each year after that.
- Add the organic matter in the fall, if possible.
- Use permanent raised beds to improve drainage and keep foot traffic out of the growing area.
- Minimize tilling and spading, and don’t walk on the soil if you can help it.
To improve silty soil:
- Add at least 1" inch of organic material into the top 3"-4" of soil each spring.
- Minimize tilling and spading, and don’t walk on the soil if you can help it.
- If all else fails, raised beds may be necessary.
Test your soil for nutrients and pH
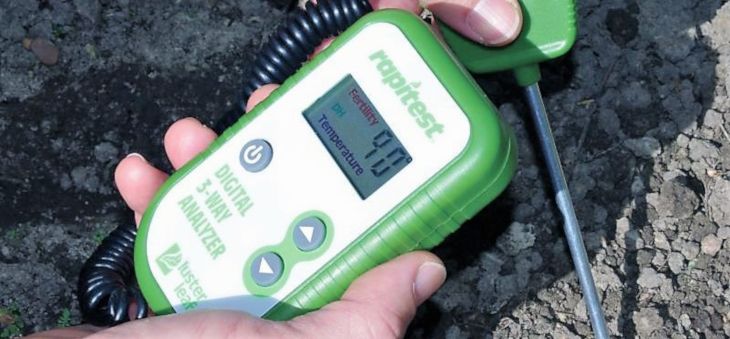
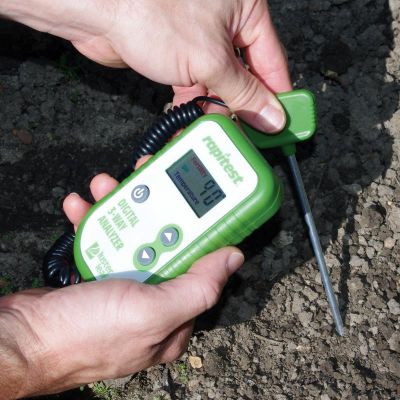
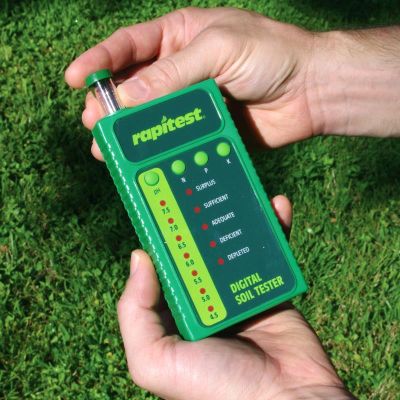
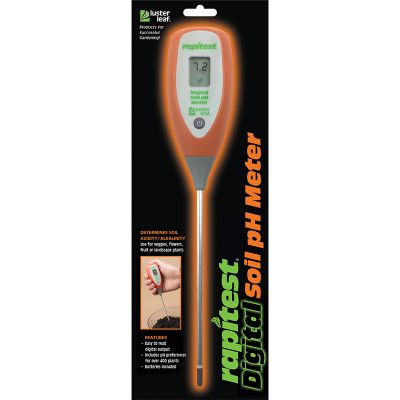
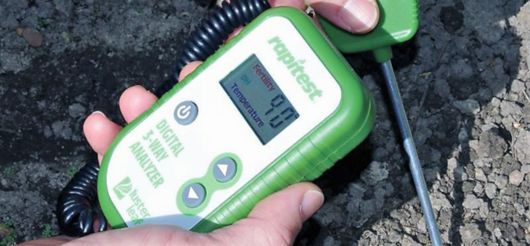
Handy soil meters and easy-to-use soil test kits are make this job easy. After proper testing, you’ll know whether your soil needs amending or an additional kick of a particular nutrient. The ideal soil pH for most fruit trees and plants is 6.0 to 6.5; if after testing your soil pH you find that it’s much higher or lower, you'll need to amend it. If you don’t, your tree/plant won’t be able to get nourishment from the soil because the nutrients will be bound up by soil particles. Changing soil pH doesn't happen in a day. Continually adding compost helps even out pH naturally over time, but you may need to take measures that get your pH in line sooner than that. Each of the adjustments described below will raise or lower your soil pH by about one point. Amend the pH once each year until the test meter shows the results you want. Acidic Soil. If your soil pH of is lower than 6.0, it may be too acidic for most fruiting plants (although blueberries actually require acidic soil and raspberries prefer a slightly acidic soil).
To raise soil pH:
- Sandy soil: add 3-4 pounds of dolomitic limestone per 100 square feet.
- Loamy soil: add 7- 8 pounds per 100 square feet.
- Clay soil: add 8-10 pounds per 100 square feet.
Alkaline Soil. If your soil pH is higher than 6.5, you will likely need to lower it. Soils in the western U.S., especially in desert areas, are alkaline. To acidify the soil, you need to add ground sulfur or organic matter like pine needles, peat moss and/or shredded oak leaves.
To lower soil pH:
- Sandy soil: add 1 pound ground sulphur per 100 square feet.
- Loamy soil: add 1.5-2 pounds per 100 square feet.
- Clay soil: add 2 pounds per 100 square feet.
Your local Cooperative Extension Service office likely offers a soil-testing service. If this service is not available, you can also have your soil tested by an independent soil lab. Properly preparing your organic garden site means a little more work, a little more nurturing and a little more cost than a conventional garden, but the peace of mind is worth every penny and every sore muscle!
- Article Categories:
- How To Grow
- Organic

