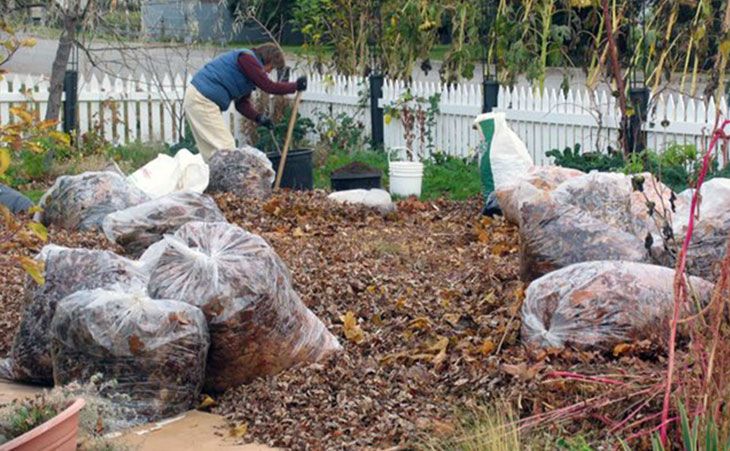
Lasagna Gardening

No, you can’t grow lasagna in your garden — sad, but true. What you can do is treat your garden bed like a big pan of lasagna, and assemble layer upon layer of goodness to create a thriving environment for your treasured plants. It’s inexpensive, and very worthwhile doing. All it requires are the right materials and a little elbow grease.

Lasagna gardening is like a poor man’s raised bed, but without the neat (and expensive) wood timbers to contain the borders. Bonus: If you have sandy, clay-ey or rocky soil, you can just build your garden bed right on top - no digging, no tilling. It’s all about layering the right ingredients in the right order. And in the end, there’s no weeding, so what’s not to love?

What you will need:

  • Corrugated cardboard or newspapers
  • Clean straw (not hay, which is full of seeds)
  • Compost or aged manure
  • Peat moss
  • Wood ashes
  • Small logs*, about 18” long and 6” to 10” in diameter
    (preferably maple, oak, elm or lastly, pine)
  • Cayenne pepper

*Do not use treated wood, locust, cherry or any species of walnut.

How to get your lasagna garden cooking

Locate the right area for the garden bed, which can be as small or large as you like. The ground should be flat and receive at least 5 hours a day of full sun for a vegetable or cutting-flower garden.

Outline the area with spray paint, a garden hose or stakes-and-string. Now it’s time to start putting your layers down, in this order:

  1. Remove all tape and staples from corrugated boxes and break them down flat. Cover the garden area with the flattened boxes, or use newspaper (10 pages thick). A thick layer of straw (at least 3”) will also serve the purpose of smothering existing weeds/grass and preventing them from growing up through your layers.
  2. Compost or aged manure. Never use fresh manure, as it will burn your plant roots. Do not use pet or human manure.
  3. Water until the first two layers are moist.
  4. Add a 2-3” layer of straw to aerate the layers. Moisten the straw.
  5. Leaving a 1’-2’ empty border around the edge of the bed, put down a layer of logs. This may seem odd, but it’s a centuries-old proven technique called hugelkultur (“hill culture”), which allows the wood to break down over time, creating a loose soil composition in which microbes can thrive. Wet the logs well.
  6. Now for a “green” layer, which can be kitchen scraps (vegetable waste, eggshells, untreated grass clippings. Extend this layer to completely cover the logs, all the way to the garden border. Wet down this layer as well.
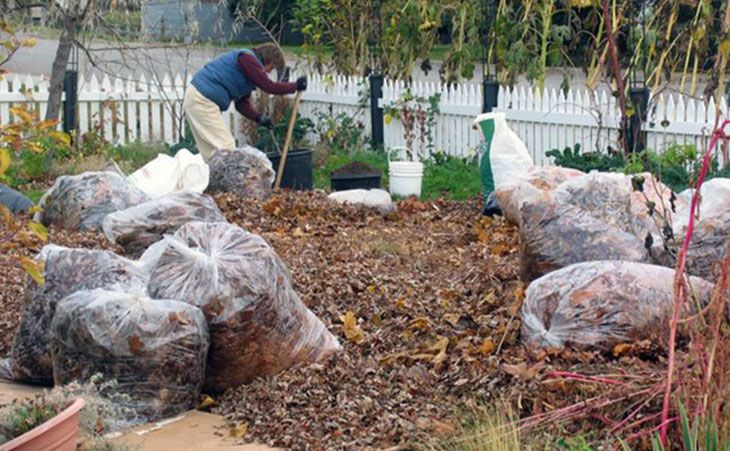
  7. It’s time to alternate with a “brown”, or dry, layer. Straw, dry leaves, undyed wood chips, shredded bark, used paper towels or shredded paper are all excellent. (This is also a good time to add a sprinkling of compost starter, which is optional, but will break down the layers more quickly.) Water lightly.
  8. A second green layer is next, using any of the ingredients in #6.
  9. Another brown layer goes here. Keep alternating green and brown layers until your pile is at least 3’ deep, or deeper. Water lightly after you assemble each layer. Over time, it will break down and not be as high.
  10. Add another optional sprinkling of compost starter, then add a 3” layer of peat moss, and water lightly.
  11. Sprinkle a barely visible layer of wood ashes on top of layer #10.
  12. When your lasagna garden is the proper height, add a final layer of compost or aged manure mixed with fertile garden soil (at least 2” deep), and give it one final moistening.
  13. Sprinkle a trail of cayenne pepper around the bed perimeter to discourage foraging critters which may be attracted to the “green” layers.

Now you’re ready to plant! There is no need to wait for the elements of your garden bed to break down. Every couple of years, replenish the bed using the steps above and you’ll have the most prolific garden in the neighborhood.

Latest Articles

How To Prune Grapes - Summer Care Article imageArticle imageArticle imageArticle image
How To Prune Grapes - Summer Care Summer pruning helps control vigorous growth, improve fruit quality, and keep your grapevines healthy and productive throughout the growing season.
How to Make Redbud Jelly Redbud jellyRedbud jellyRedbud jellyRedbud jelly
How to Make Redbud Jelly Learn how to make redbud jelly from edible redbud tree blossoms with this easy small-batch recipe.
Winter Preparation for Fig Trees: Cutting Back and Mulching Article imageArticle imageArticle imageArticle image
Winter Preparation for Fig Trees: Cutting Back and Mulching Fig trees are beloved for their sweet fruit, but they can be sensitive to freezing temperatures, especially in colder climates. Proper winter preparation ensures the tree survives the harsh weather and grows back vigorously in the spring. One effective method involves cutting back the branches and insulating the tree base with mulch. Here's a step-by-step guide:
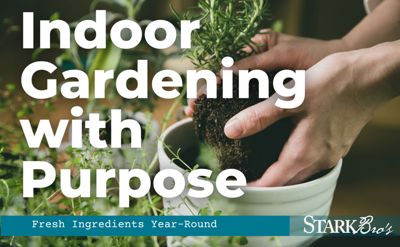
Indoor Gardening with Purpose: Fresh Ingredients Year-Round Planting in pots indoorsPlanting in pots indoorsPlanting in pots indoorsPlanting in pots indoors
Indoor Gardening with Purpose: Fresh Ingredients Year-Round Imagine walking into your home and being greeted by the vibrant greenery of your very own indoor garden. With aromatic herbs, fresh ingredients, and even small fruiting plants, indoor gardening can turn any space into a productive and inviting haven. Whether you’re looking to save on grocery costs, enjoy a steady supply of organic produce, or simply find joy in gardening throughout the year, growing indoors is a rewarding way to make the most of your space.
House Plants: Benefits, Top Picks, and Care Tips Article imageArticle imageArticle imageArticle image
House Plants: Benefits, Top Picks, and Care Tips House plants aren’t just for looks—they’re living companions that enhance our homes! Whether you're a plant mom or plant dad who wants to bring nature inside, house plants offer health benefits, create calming atmospheres, and add charm to every room. Let’s dive into the many ways house plants can enhance your well-being and explore the best plant options for your lighting conditions.
The Stark Bro's Story of Leadership in Gardening Excellence Rooted in ServiceRooted in ServiceRooted in ServiceRooted in Service
The Stark Bro's Story of Leadership in Gardening Excellence At Stark Bro’s, we’re proud to be veteran-owned and veteran-operated, bringing the values of service and dedication directly into the heart of gardening. With over 200 years of history, we know that the strongest roots grow from a commitment to quality, integrity, and community. Our leadership upholds these principles, guiding every plant we nurture and every customer we serve. Here, we don’t just grow fruit trees; we grow relationships and legacy.
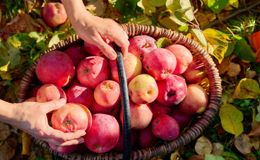
Preparing Your Garden for a Successful Fall and Winter Harvest basket full of applesHarvest basket full of applesHarvest basket full of applesHarvest basket full of apples
Preparing Your Garden for a Successful Fall and Winter As summer comes to an end, it’s time to give your fruit trees and berry plants the care they need to thrive through the colder months. Proper fall maintenance not only protects your plants from winter damage but also lays the foundation for healthy growth come spring. Here’s your fall checklist to help ensure a smooth transition into the next season.
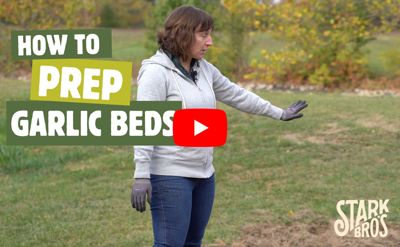
How to Prep a Garlic Bed for Planting Preparing a garlic bedPreparing a garlic bedPreparing a garlic bedPreparing a garlic bed
How to Prep a Garlic Bed for Planting Preparing a garlic bed properly is essential for growing healthy, productive garlic plants. Garlic is usually planted in the fall, as it needs a cold period to establish strong roots before spring growth. Here’s a step-by-step guide to help you prepare your garlic bed for planting.
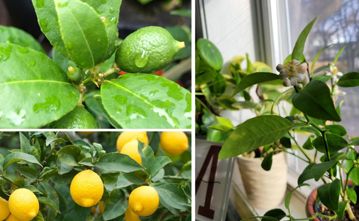
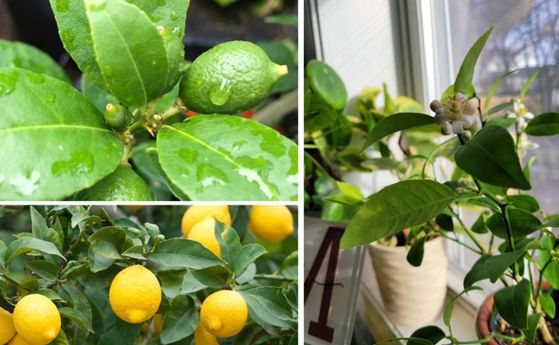
How to Care for Citrus Trees in Containers & Successfully Grow Citrus Indoors citrus treescitrus treescitrus treescitrus trees
How to Care for Citrus Trees in Containers & Successfully Grow Citrus Indoors Imagine filling your home with the vibrant scent of citrus blossoms, while enjoying fresh fruit all year long—even if you live outside the ideal growing zones for citrus! Growing citrus in containers makes this possible, allowing you to bring the beauty and flavor of citrus into any climate. With optimal care, citrus trees can bloom and bear fruit multiple times a year, adding both color, fragrance and flavor to your living space.
When Grapes Are Ready to Harvest: A Guide to Determining Ripeness When are Grapes RipeWhen are Grapes RipeWhen are Grapes RipeWhen are Grapes Ripe
When Grapes Are Ready to Harvest: A Guide to Determining Ripeness Harvesting grapes at the right time is crucial for achieving optimal flavor, sugar content, and overall quality. Grapes can be used for fresh eating, winemaking, or cooking, and each purpose may have slightly different ripeness criteria. Here’s a comprehensive guide on when grapes are ready to be harvested.
Subscribe to Stark Bro's e-newsletters
Get to know your zone! Try the new Stark Bro's Hardiness Zone Finder