Organic Mulches

There is inorganic mulch (gravel, stones, shredded rubber and other materials that do not decompose) and organic mulch, which breaks down over time to feed your soil and help keep it healthy. Continuous application of organic mulch over time will actually change the composition of even the worst clay soil. Because inorganic mulch has little value, this article will focus on organic mulch.
There are many benefits to organic mulch. It helps to:
- Prevent soil erosion and compaction
- Insulate plant roots against summer baking and winter freezing (if you’re in a borderline growing zone)
- Conserve moisture and water use by preventing runoff
- Prevent weed growth
- Keep your fruits and vegetables from getting muddy
- Add a nice, neat “tailored” look to your garden
Without mulch in your garden, you’ve got bare dirt, which is an open invitation for weeds to take hold. So get ready to put down some organic mulch!
A Mulch for Every Purpose
Fortunately, organic gardeners have a wide-ranging choice of mulch materials, each contributing a special set of benefits:
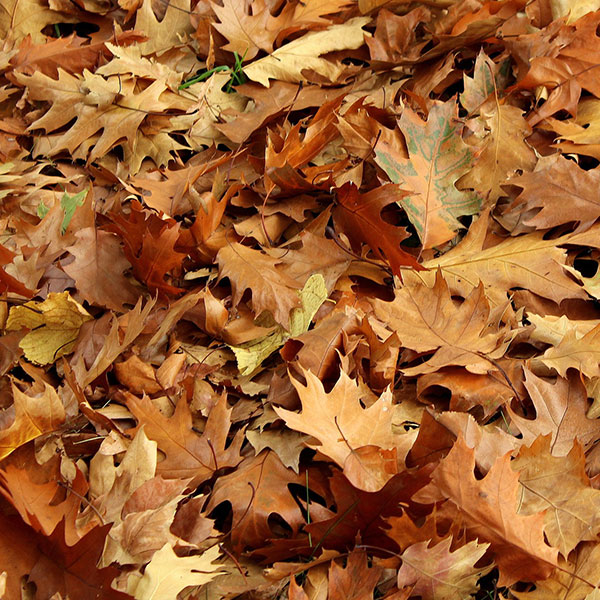
Dry leaves. If your yard is heavily treed, lucky you; you have a free fall bonanza of mulch. All you have to do is shred the leaves with a lawnmower and you will have cubic yards of organic mulch. It’s best to shred them to keep them from blowing away or compacting. Shredding also aids the decomposition process. Oak leaves are especially wonderful for mulching acid-loving plants, as they will slightly acidify the soil over time. Take care not to include leaves from trees that have recently suffered from bacterial diseases like canker or anthracnose.
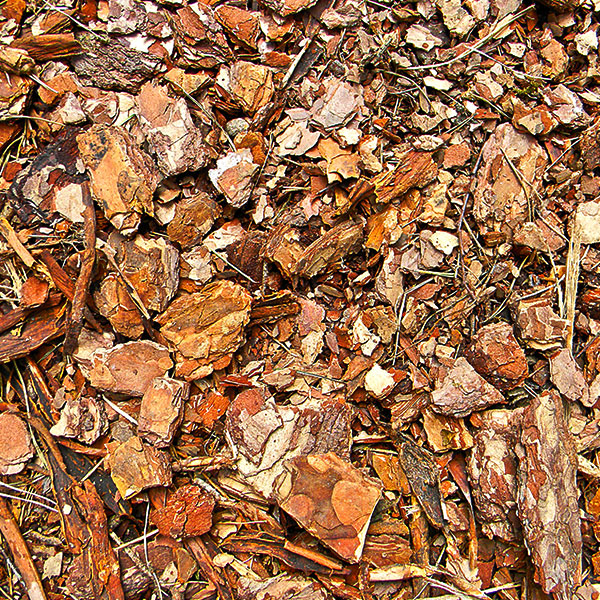
Bark. Bagged bark mulch can range from large nuggets to mini-nuggets to the shredded form. We don’t recommend the large nuggets because they repel water and prevent it (and any nutrients that come with it) from getting to your plants’ root system. This is also the bark form that is available in various colors. (We do not recommend tinted bark for organic beds because of the chemical dyes used in the manufacturing process.)
Pine, cedar or cypress mini-nuggets are excellent mulch, as is shredded bark — as long as it’s not tinted. Please note that pine bark is slightly acidic and will eventually alter the pH of your soil over time.
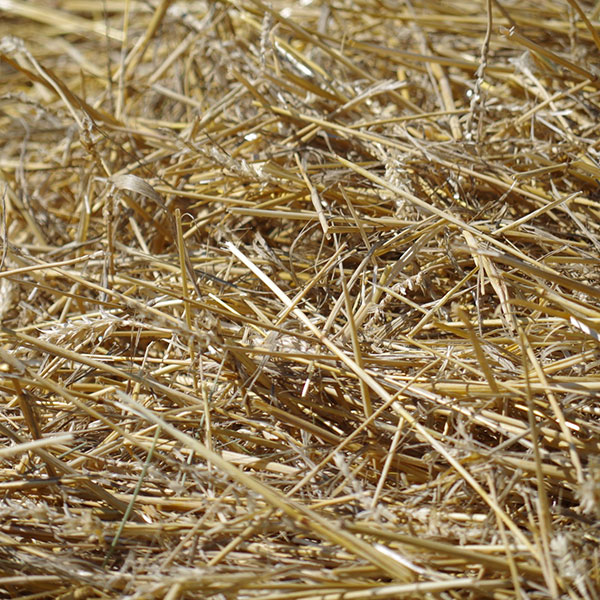
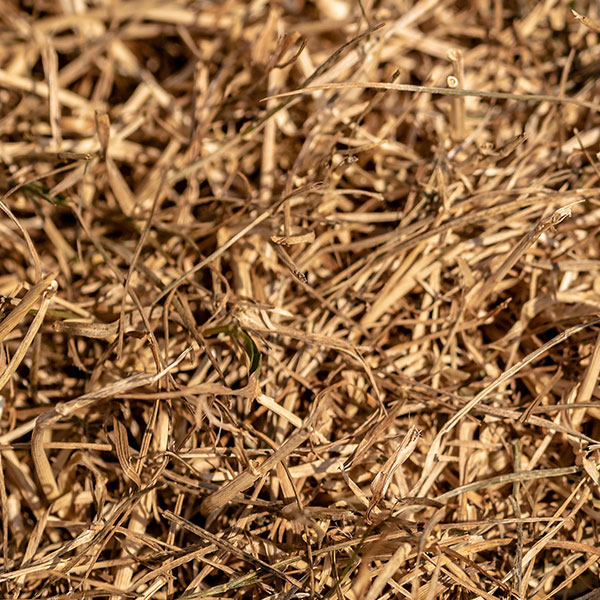
Straw. Not hay, which is full of seeds that will sprout in abundance. Make sure the straw is “aged” and very dry. Straw is best for winter mulch, as it won’t compact under heavy snow/ice, and is the mulch of choice for strawberry beds. It keeps the fruit from becoming muddy, allows for good air circulation and breaks down beautifully to add organic matter around the plants.
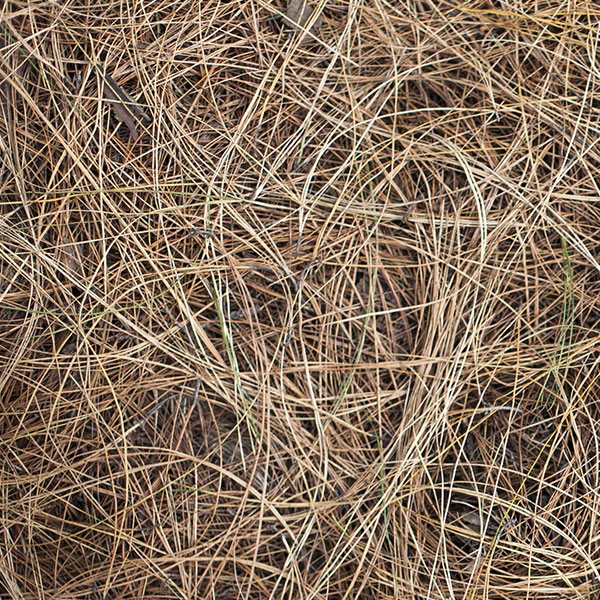
Pine straw. This is not really straw, it’s long, dry pine needles that have been baled to look like straw. Their pH is on the low side, which is ideal for mulching blueberry bushes, hydrangeas, azaleas, rhododendrons and camellias. It’s stable, breaks down evenly and is a wonderful soil conditioner for those not fortunate enough to have sandy loam.
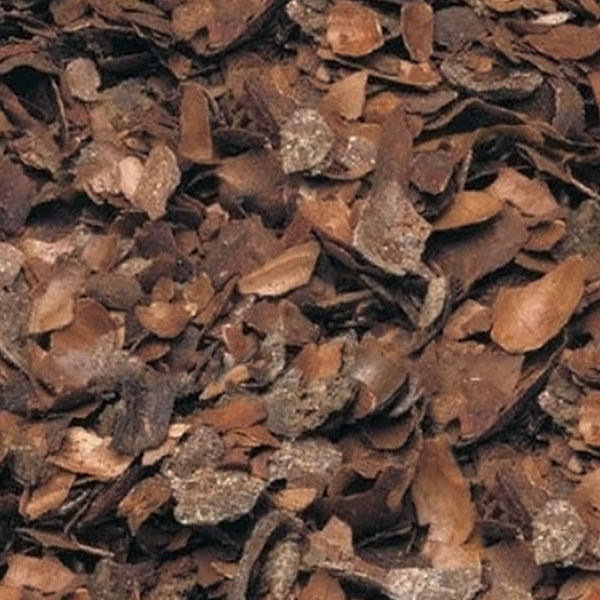
Cocoa hulls. Who doesn’t want a garden that smells like chocolate? While the aroma may only last for a couple of weeks, the hulls break down quickly and the humus makes its way into the soil faster than other materials. The downsides are that because it decomposes fast, it becomes brittle/light and can blow around. It can also be hazardous to dogs if they eat it, so consider this carefully beforehand.
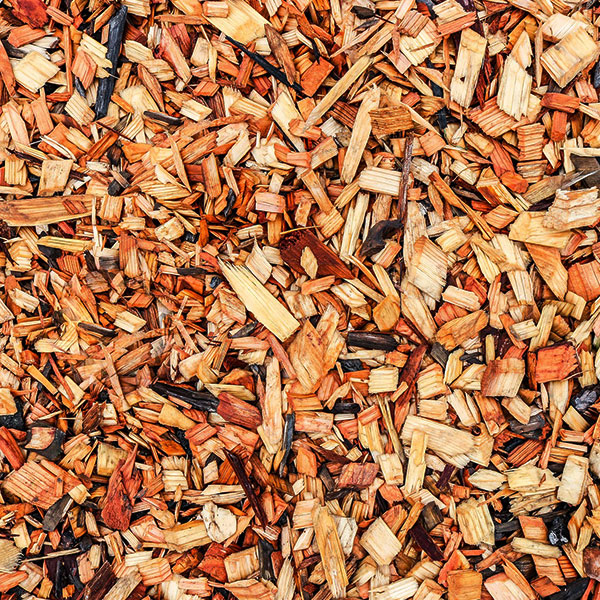
Wood chips. Sometimes local landscape and even municipalities will provide free wood chips to local residents to keep it out of the landfills. These are “fresh” wood chips and have the potential to burn plants, shrubs and even young trees if applied in this state. We only recommend you use this type of mulch for walkways or compost-making. If you can determine that the wood was chemically treated, do not use it in any instance.
Grass clippings. As long as the grass has not been treated with chemical herbicides or gone to seed, start with a relatively thin (1-2”) layer of dry grass clippings that will serve as a rudimentary mulch. Resist piling a thick mat of green clippings onto your garden beds — that will result in a foul-smelling mess of compacted slime. Be sure the clippings are dry before you add them to the previous mulch layer, and just add a couple of inches at a time. After the growing season is over, the clipping-mulch can be incorporated into the soil to further decompose over the winter months.

Newspaper. This can be a very effective natural weed barrier. We recommend using sheets of newspaper instead of plastic under more decorative mulch because it will naturally break down to feed the soil, and simultaneously allow water and nutrients through to the plant. Most all newspaper printers use organic black ink now, so there are no worries about chemical dyes — just don’t use color pages.
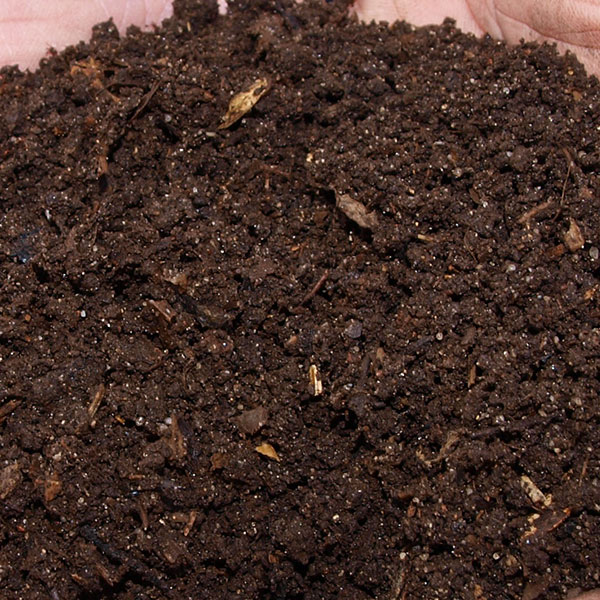
Animal manure. Not technically “mulch,” but can act as such if sufficiently decomposed, which is key. It is, of course, also a soil conditioner and fertilizer. Never use fresh manure as it can burn/damage young roots, and never use cat, dog or pig manure. It bears repeating that the manure needs to be fully composted before using.
“Living mulch”. As the name says, this is mulch that grows, as in a cover crop. Alfalfa, winter rye and buckwheat are good choices because they fix nitrogen in the soil, but you could also use a creeping ground cover like sedum, thyme or any other shallow-rooted plant which doesn’t sap a significant amount of water or nutrients away from the plants you’re growing.
The Best Time to Mulch
Aside from its organic-matter value, most gardeners use mulch for its insulating capabilities. For vegetable and flower gardens, lay down your mulch after the soil has warmed or you may risk slow seed germination or damping off (a form a rot that kills tiny sprouting plants).
Fall mulching of perennial and strawberry beds can prevent significant root damage over the winter, especially if you’ve chosen plants that are teetering on the edge of your growing zone. Wait until there is a frost or two before mulching; doing so too soon will attract furry rodents who are looking for a place to call home for the winter.
If you mulched the previous fall (for example, a perennial bed) and need to add more for the coming season, wait until the soil has completely warmed up. Mulched soil will take longer to thaw/warm than unmulched soil, and adding more mulch too soon will keep the soil cold longer.
How much mulch?
You can buy mulch by the bag (usually 3 cubic feet each) at your local garden center, or if you’ve determined that you need more than a cubic yard, it’s more cost-efficient to purchase it from a local landscaping company. If you have a truck and can haul it yourself, you can save the delivery fee.
To determine the amount of mulch you need of mulch, multiply the length x width x mulch depth in inches, then divide that figure by 1728 (the number of inches in a cubic foot).
Example: If the area you want to mulch is 20 ft. x 15 ft. x 3” of mulch, you would multiple 240 (inches in 20 ft.) x 180 (inches in 15 ft.) x 3”, which equals 129.600. Then divide that by 1728, which gives you 75 cubic feet. To convert that to cubic yards, divide by 27 (the number of cubic feet in a cubic yard) and you will get 2.78 cubic yards.
Next, make sure you put down enough mulch to discourage any new weeds. Different mulch types are effective at different depths. Please see the chart for the optimum mulch height, according to type.
Material/Amount to Apply
- Leaves: 3 - 4”
- Bark: 2 - 4”
- Straw: 4 - 6”
- Pine Straw: 4 - 6”
- Cocoa Hulls: 1 - 2”
- Wood chips: 2 - 4"
- Grass clippings: 1 - 2”, multiple layers
- Newspaper: 1/4"
- Composted Manure: 1”
How to Properly Place Mulch
Before you put down any mulch, thoroughly weed the area. Otherwise, you will be sheltering and incubating weeds which will sprout and absolutely thrive in the decomposing organic matter that trickles down to them.
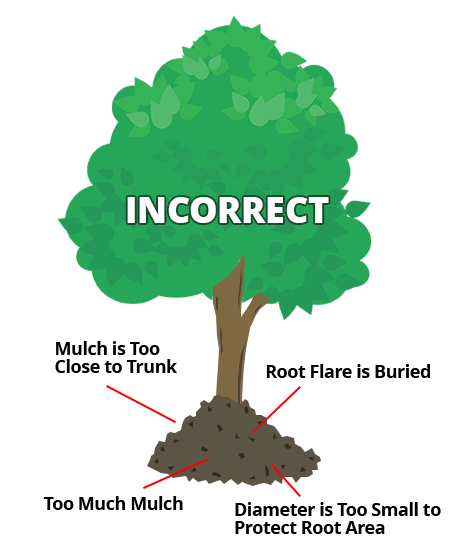
Do not heap mulch up in a volcano around the trunk of the tree (see image). This invites pests, disease, girdling, suckers, trunk rot, root rot and a host of other problems.
Instead, pull mulch 6” away from the trunk, then continue the proper amount of mulch out to the drip line of the tree.

Mulch is meant to be a beneficial helper to your landscape; applying it haphazardly or improperly could ultimately kill the tree or plant it was meant to protect. Check and maintain the proper levels each spring and fall, and replenish as necessary. Mulch with care!
Shop Organic-Growing Supplies
Latest Articles
 The Healing Power of Your Garden: Growing Plants for Apothecary and Wellness
Why You Can’t Eat Raw Elderberries (and How to Enjoy Them Safely)
When to Pick Asian Pears: Harvesting Tips for Crisp, Juicy Fruit
Summer Raspberry Pruning Tips with Matt Lebon of The Foodscaper
Backyard Orchard Tour: Growing Fruit in Small Spaces with Stark Bro’s Team Member Katie B
How To Prune Grapes - Summer Care
How to Make Redbud Jelly
Winter Preparation for Fig Trees: Cutting Back and Mulching
Indoor Gardening with Purpose: Fresh Ingredients Year-Round
The Healing Power of Your Garden: Growing Plants for Apothecary and Wellness
Why You Can’t Eat Raw Elderberries (and How to Enjoy Them Safely)
When to Pick Asian Pears: Harvesting Tips for Crisp, Juicy Fruit
Summer Raspberry Pruning Tips with Matt Lebon of The Foodscaper
Backyard Orchard Tour: Growing Fruit in Small Spaces with Stark Bro’s Team Member Katie B
How To Prune Grapes - Summer Care
How to Make Redbud Jelly
Winter Preparation for Fig Trees: Cutting Back and Mulching
Indoor Gardening with Purpose: Fresh Ingredients Year-Round