Garden Wines from Fruits & Berries


All you need for wonderful wines is basic equipment, a harvest of fruits or berries, and patience. The same age-old principals of fermentation that make wine also produce mead – made with honey instead of sugar – and hard cider.
Soon your personal wine cellar could include beverages made from:
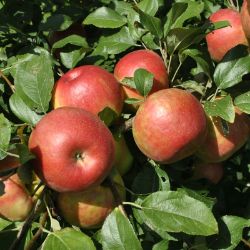
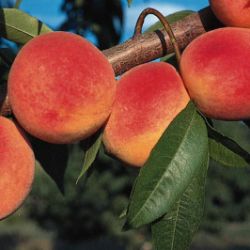
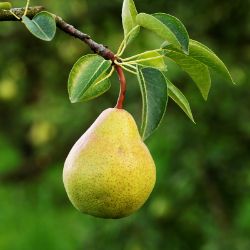
- peaches, pears, plums, quince, apples, cherries
- persimmons, figs, bananas, apricots
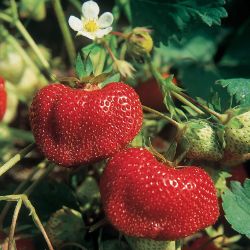
- blueberries, raspberries, elderberries, strawberries, gooseberries
- rhubarb, roses, lemons, herbs
There are Old World recipes for wines and meads made with other plants, including onions, tomatoes, potatoes, even tender nut leaves. Virtually anything that grows in the garden can be made into wine.
Make Your Own Garden Wines
How to start? First, grow good fruit. Top quality nursery stock yields top quality fruit. Vegetables, herbs, even roses can give you a crop of something useful in the first year; berry plants take a little longer, and apples and other fruit trees may require three to five years.
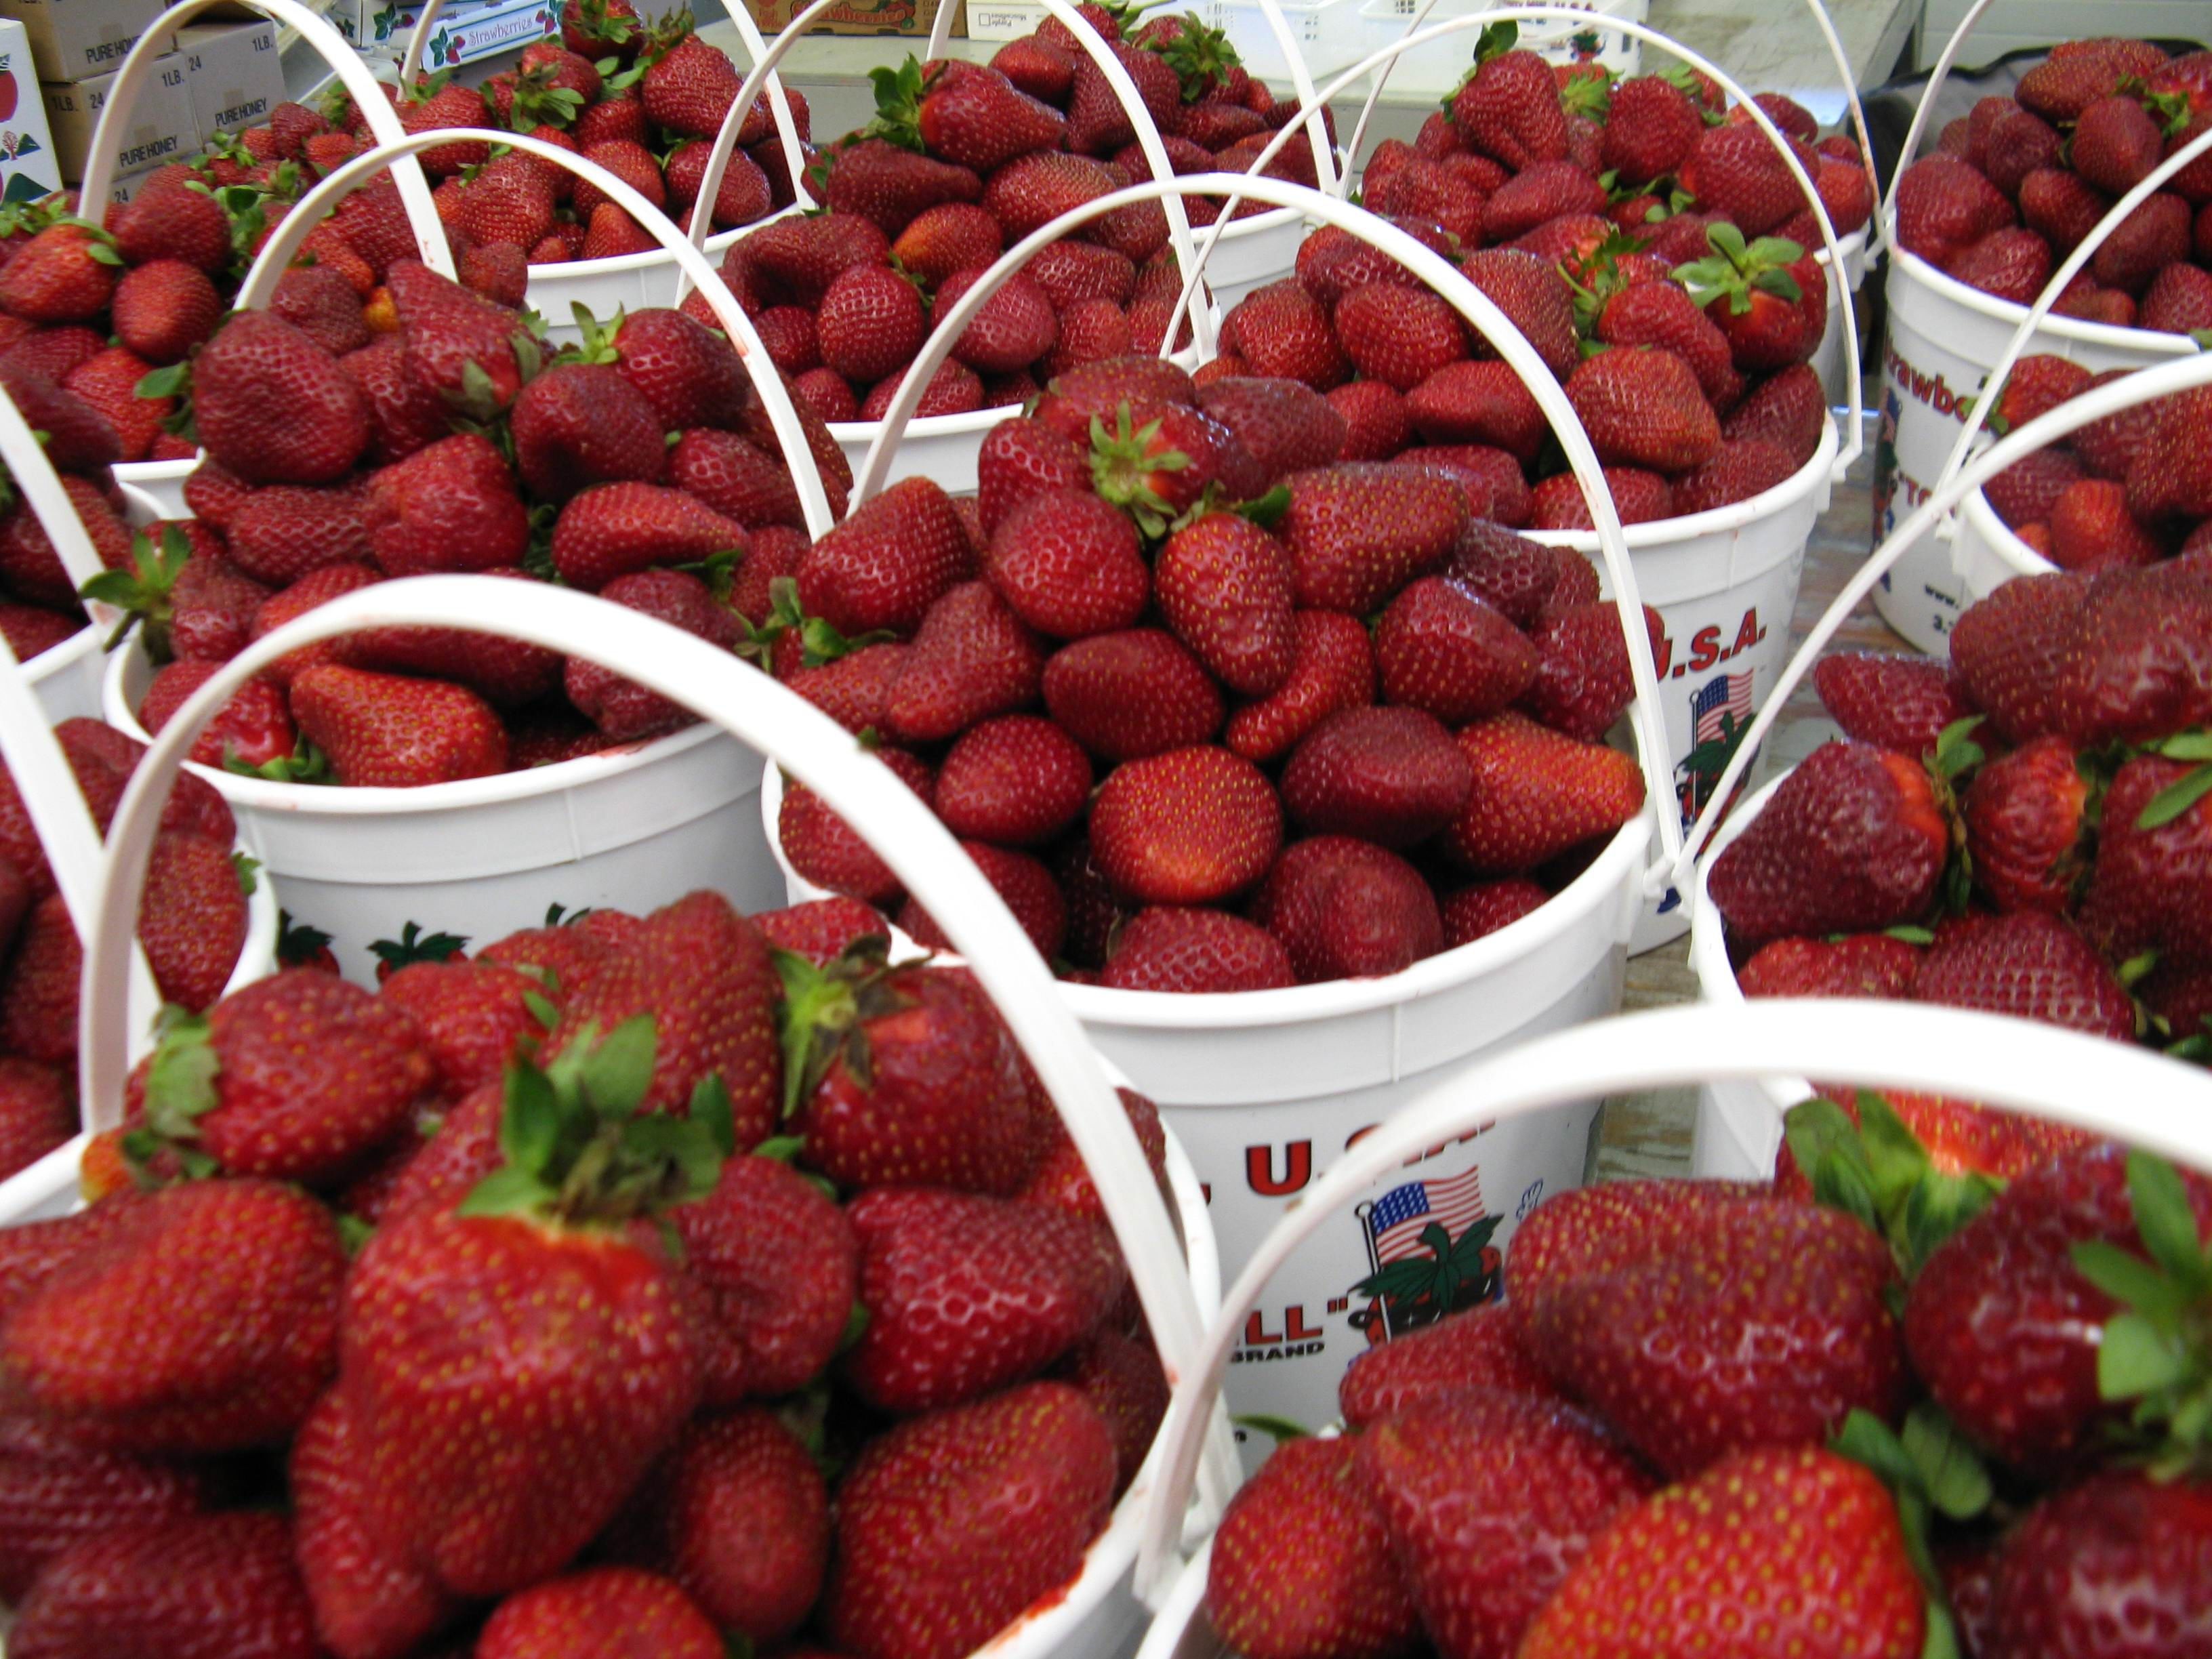
Once you have crops underway you can let your wine efforts follow the harvest season: first with early crops like strawberries, rhubarb, and serviceberries; then with mid-season crops of cherries, peaches, and plums; finally with autumn crops like apples, pears, and quince.
It’s important to harvest your crops at peak ripeness; overripe fruit may have “off” flavors and can cause problems with fermentation. Don’t use bruised fruit for winemaking, and be especially careful in handling tender berries.
What next? Have these supplies on hand:
- A clean one-gallon glass jug with a rubber stopper drilled to hold an “airlock,” and an extra jug for later.
- A large funnel to get ingredients into the jug.
- An airlock – inexpensive at brew stores – to keep oxygen and rogue bacteria out of the jug.
- A packet of wine yeast. Choose from dry, medium, or sweet yeasts for different results.
- Sugar or honey.
- A four-foot length of clear plastic tubing for moving the wine-in-progress to a new jug.
Other equipment and supplies can make the process simpler. An auto-siphon and racking cane help transfer fermenting wines between vessels as they clarify (called racking); wine bottles, corks, and a corking gadget are necessary eventually. Be sure to label your work as you go along.
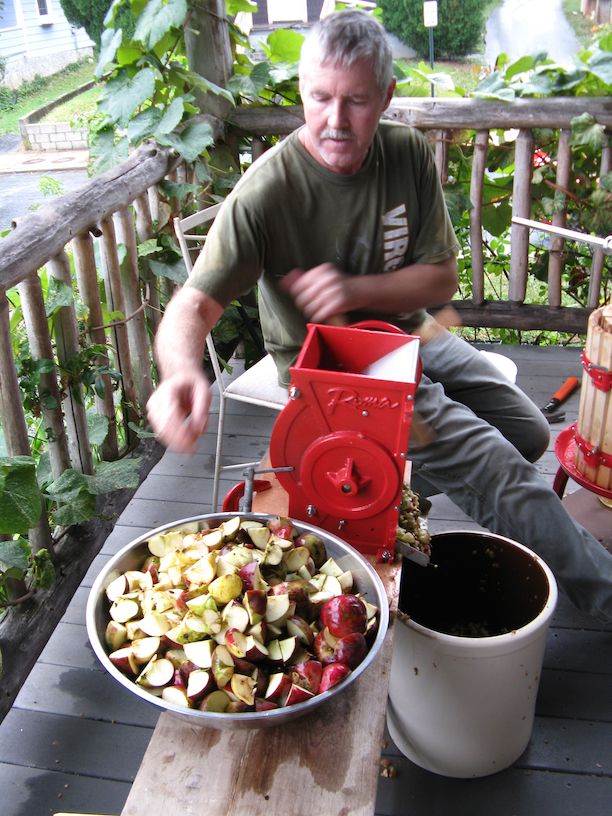
Before you start the wine you will need to make juice from your fruits or berries. This can be as simple as simmering the fruit in some water for 15 minutes and then straining to remove the solids (let this juice sit overnight in a refrigerator for extra-clear product). Or you can use a fruit grinder and press to extract juice from harder fruits.
Now make wine:
- Sterilize all equipment, using scalding water or any commercial sterilizing compound.
- “Proof” the yeast by sprinkling it into a cup of warm fruit juice or sugar water. It should bubble soon.
- Pour fruit juice – or an herb or flower "tea" – into the jug, plus 4 cups sugar or honey, leaving room for the yeast mixture.
- Add the yeast mixture to contents. If necessary top up with filtered water until there’s an inch or two of air left in the jug. Apply the stopper and airlock, which should be half-filled with water.
Now just wait; keep the jug in a cool, dark place. This mixture looks like mashed fruit rather than wine. Bubbles should blurp up through the airlock. In a week or two you may need to "rack" or clarify the fermenting wine; racking is done with a gravity feed using plastic tubing and a second jug. Replace the airlock and rack again if necessary.
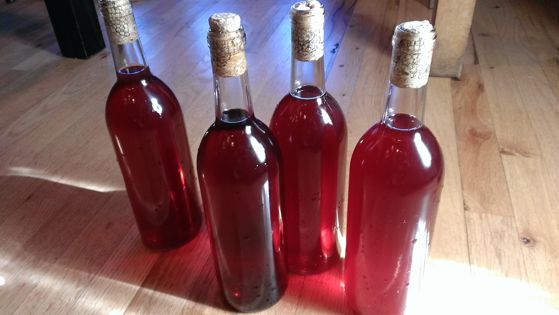
When the wine becomes clear and stops bubbling you may bottle it. Once bottled, fruit wines improve with a year of aging.
How to Make Easy Fruit Wine
- 3 quarts – 1 gallon strained fruit juice (fruit combinations work fine)
- 1 packet wine yeast
- 4 cups sugar
- Filtered water as needed
Sterilize the jug, proof the yeast in a cup of lukewarm fruit juice or sweetened water. Dissolve the honey or sugar by heating the fruit juice to scalding, pouring into the jug, and adding the sweetener. Swirl to mix and let cool to lukewarm.
Add the proofed yeast and enough filtered water to the jug so the level comes within a few inches of the top. Apply a sterilized airlock with water in it.
Leave to ferment, cleaning the outside of jug if contents overflow. Rack once or twice, and when wine clears bottle it.
— Nan K. Chase, author of Drink the Harvest – and more!


Latest Articles


 How to Make Redbud Jelly


 Winter Preparation for Fig Trees: Cutting Back and Mulching


 Indoor Gardening with Purpose: Fresh Ingredients Year-Round


 House Plants: Benefits, Top Picks, and Care Tips


 The Stark Bro's Story of Leadership in Gardening Excellence


 Preparing Your Garden for a Successful Fall and Winter


 How to Prep a Garlic Bed for Planting


 How to Care for Citrus Trees in Containers & Successfully Grow Citrus Indoors


 When Grapes Are Ready to Harvest: A Guide to Determining Ripeness