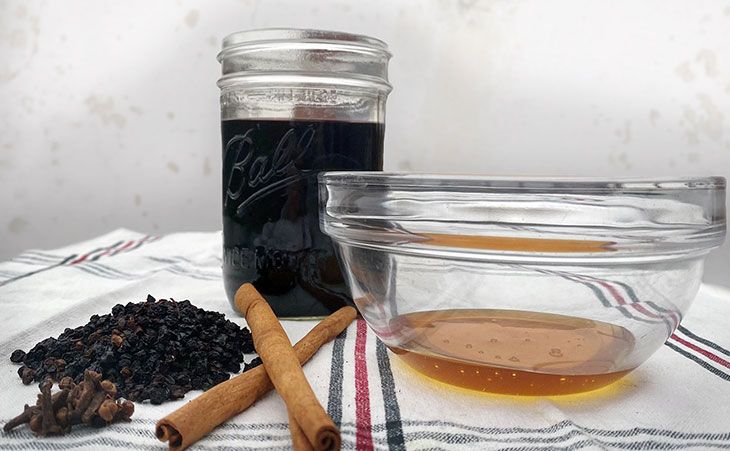
Homemade Elderberry Syrup

Use your homegrown elderberries in this simple recipe to reduce the duration of your cold or flu symptoms.*
All in the name of wellness, elderberry products are springing up on the shelves of both health food stores and pharmacies alike.
But the price tag for good elderberry products is shocking! Especially when you can get those same benefits by growing these delicious berries at home. A sustainably sourced elderberry product can cost 42.99 a bottle… and you could grow an elderberry plant collection and make it yourself!
If you’re in growing zones 4-8, this is a must have plant for your garden. This collection in particular has 118 five star reviews on our site plus an entire growing guide to learn how to grow it well.
The annual yield from a flowering pair will be 24-30 pounds of berries. You’ll have more than enough elderberries frozen on hand for the entire family all year round.

Important note: Stems, bark, and uncooked elderberry seeds contain potentially harmful toxins. When collecting berries, discard all bark, leaves and stems. Always bring berries to a boil during the cooking process before human consumption!

If you’re interested in the research that has been done regarding the health benefits of elderberries, we recommend reading healthline.com’s detailed analysis of all existing studies.
We researched the best methods for how to enjoy the benefits of elderberry at home, and while there are options for canning and using the instant pot, stove top was the simplest and most commonly recommended process we came across for elderberry syrup. When mixed with honey, it is a sweet syrup that kids will happily consume. Some even add it to pancakes!
Ingredients:
- 2/3 cup of dried elderberries – carried
by most health food stores or can be ordered online – but best if you grow
yourself! - 3 ½ cups of water
- 1 tsp cinnamon
- 1 tsp cloves
- 1 cup of raw honey
Directions:
- Bring water and berries to a boil for 2 minutes
- Cover and reduce to simmer
- Add cloves & cinnamon
- Simmer for 45 minutes to 1 hour (waiting for syrup to reduce by half)
- Use potato masher or spoon to crush berries & release their juices about halfway through
- Strain juice through a fine sieve, capturing and discarding all solids.
- Let cool completely
- Add in honey
- Portion out only what you will use in 2-3 weeks, store in airtight container in refrigerator
- Freeze remaining syrup (whatever you can’t use in 2 weeks to 3 weeks) in a cube tray or freezer bag
Yields approx. 16 oz of syrup
Use: We recommend you speak to your healthcare practitioner for how to best integrate elderberry syrup into your routine. It is commonly recommended to use 1 tablespoon for adults and half a tablespoon for children during cold and flu season and increase dosage when experiencing symptoms.
This simple recipe should help reduce some of the misery around your house during cold and flu season, and after reaping the benefits, you’re going to want to grow some elderberries of your own for next year!
*PLEASE NOTE* This blog article is intended to be informative in nature, it is not personal medical advice. It is not written or reviewed by a medical doctor. We recommend that you speak with your doctor or healthcare practitioner.


